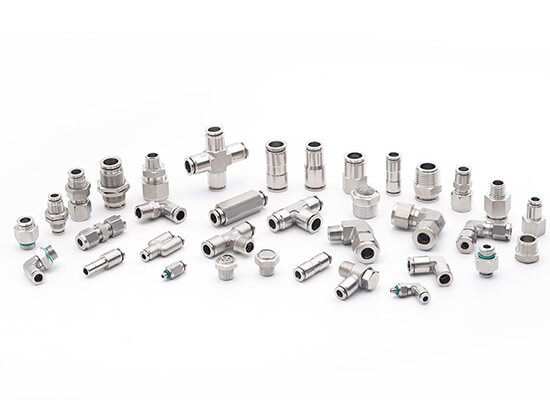
Stainless steel push to connect fittings or stainless steel push in fittings which have the same structure as common pneumatic push in fittings. There is a stainless steel lock claw inside it, and a sealing ring made of Viton.
When the a pneumatic air tubing is inserted into the fitting, the sealing ring just surrounds and seals the tubing without any leakage. Differ from common pneumatic push in fittings, stainless steel push to connect fittings are fully made of stainless steel for its body and push button or sleeve.

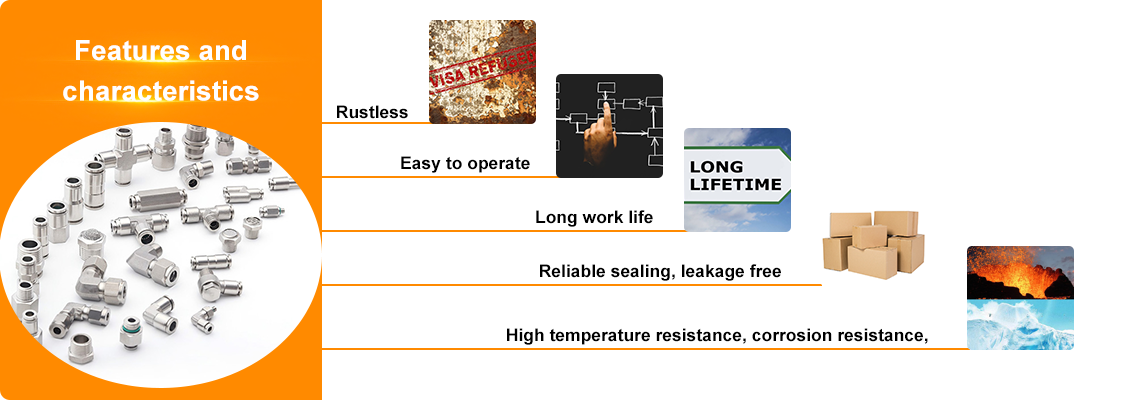
◆ High temperature resistance, corrosion resistance,
◆ The maximum working pressure reach above 2.0MPa.
◆ Easy to operate
◆ Rustless, can be used in food, medical industry
◆ Long work life
◆ Reliable sealing, leakage free
◆ Working pressure: -100KPa~2.0MPa
◆ Working temperature: -20~120℃
◆ Application medium: compressed air, water, oil, other gases, vacuum
◆ Main body material: stainless steel 304, 316, 316L
◆ Sealing material: FKM (VITON) fluorine rubber
According to the main body material, stainless steel push to connect fittings can be divided into 304, 316, 316L series.

◆ Food Industry
◆ Medical industry
◆ Corrosive environment
◆ High temperature and high pressure environment
Choosing the right stainless steel push to connect fittings requires considering the application environment, material, size, and thread type to ensure safe and durable connections.
Different industries have specific requirements for stainless steel push-to-connect fittings:
Food and Pharmaceutical Industry:
316 stainless steel is recommended for its superior corrosion resistance and compliance with FDA standards.
Chemical and Corrosive Environments:
316 stainless steel is better suited for transporting corrosive gases and liquids compared to 304 stainless steel.
General Pneumatic Systems:
304 stainless steel offers good durability and cost-effectiveness, making it suitable for industrial automation equipment.
NPT (National Pipe Thread):
Common in North America, often used in high-pressure systems.
BSPT (British Standard Pipe Taper):
Used in Europe and Asia, different from NPT, so compatibility should be confirmed.
G Thread (Parallel Thread):
Suitable for low-pressure fluid connections, often used with sealing rings.
Choose the appropriate tube size based on the required fluid or gas flow. Common sizes include 1/8", 1/4", 3/8", and 1/2".
A tube that is too small may restrict flow, while an oversized one can increase costs.
NBR (Nitrile Rubber):
Offers good oil resistance, suitable for general industrial environments.
FKM (Viton Fluororubber):
Resistant to high temperatures and chemical corrosion, ideal for high-temperature applications.
EPDM:
Excellent water and acid/alkali resistance, commonly used in pure water and food-grade applications.
High-quality stainless steel push to connect fittings undergo strict quality control, including pressure and corrosion resistance testing. Opt for suppliers with ISO and CE certifications to ensure product quality and safety.
Proper installation of stainless steel push to connect fittings ensures a secure seal, reduces leakage, and enhances system stability.
Follow these steps for a successful installation:
Use a tubing cutter to ensure a smooth and burr-free end. Rough or uneven cuts can damage the O-ring inside the fitting, leading to leaks.
Remove dust, oil, and debris from both the tubing and the fitting to prevent contamination of the fluid or gas.
Use compressed air to blow out any remaining particles inside the tubing.
Check the internal sealing ring of the fitting to ensure it is intact and undamaged.
Insert the tubing straight into the fitting, pushing it all the way until it locks into place. You should feel resistance or hear a "click" indicating a secure connection.
Gradually apply air or fluid pressure and check for any leakage.
Use a soap solution or leak detection spray around the fitting to see if bubbles form. If leakage occurs, reinsert the tubing or replace the sealing ring.
Press the release ring on the fitting while pulling out the tubing to prevent damage to the seal.
Avoid excessive force to prevent deformation of the fitting.
For more information, please feel free to Contact with us.
FOKCA ©1998-2025 Fescolo Pneumatic All Rights Reserved Sitemap